- Introduction
- Change to Japanese UI
- Create and launch a cluster
- Run the code in a notebook
- About the MAGIC command
- Shortcut key to hold
- Conclusion
Introduction
This is Abe from the Lakehouse Department of the GLB Division. I will explain the basic functions of the Databricks Lakehouse Platform. Databricks uses notebooks to run code, but before that we need to create a cluster as a preliminary step. In this article, I will walk you through the steps from creating a cluster to creating a notebook and running your code. *This is written on the premise that a Databricks workspace has been created, so if you would like to know how to create it, please refer to the following article.
Setting up Databricks on AWS and creating a workspace
Change to Japanese UI
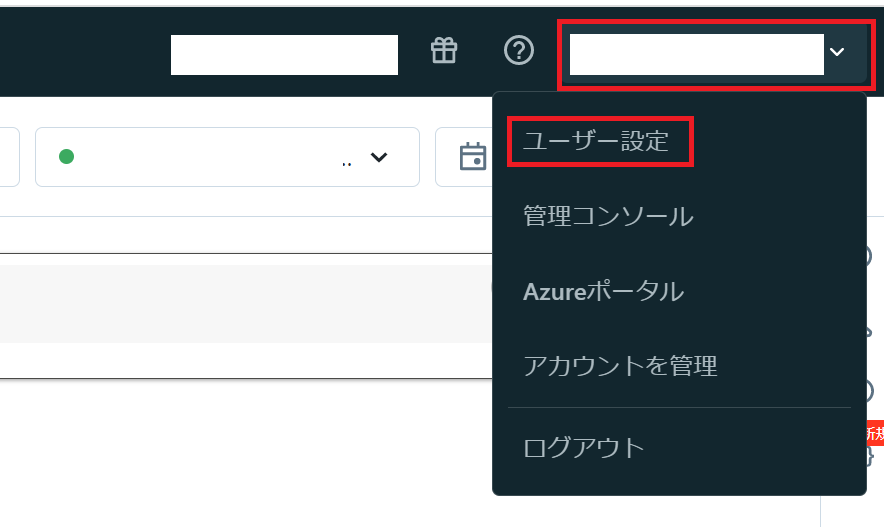
First, set the UI language to Japanese. If you have already set up the Japanese UI, or if you want to continue in English, please skip this section. Go to the language settings page by clicking User Settings from your account on the top right of the workspace home screen. Next, select Japanese from the Change language pulldown .
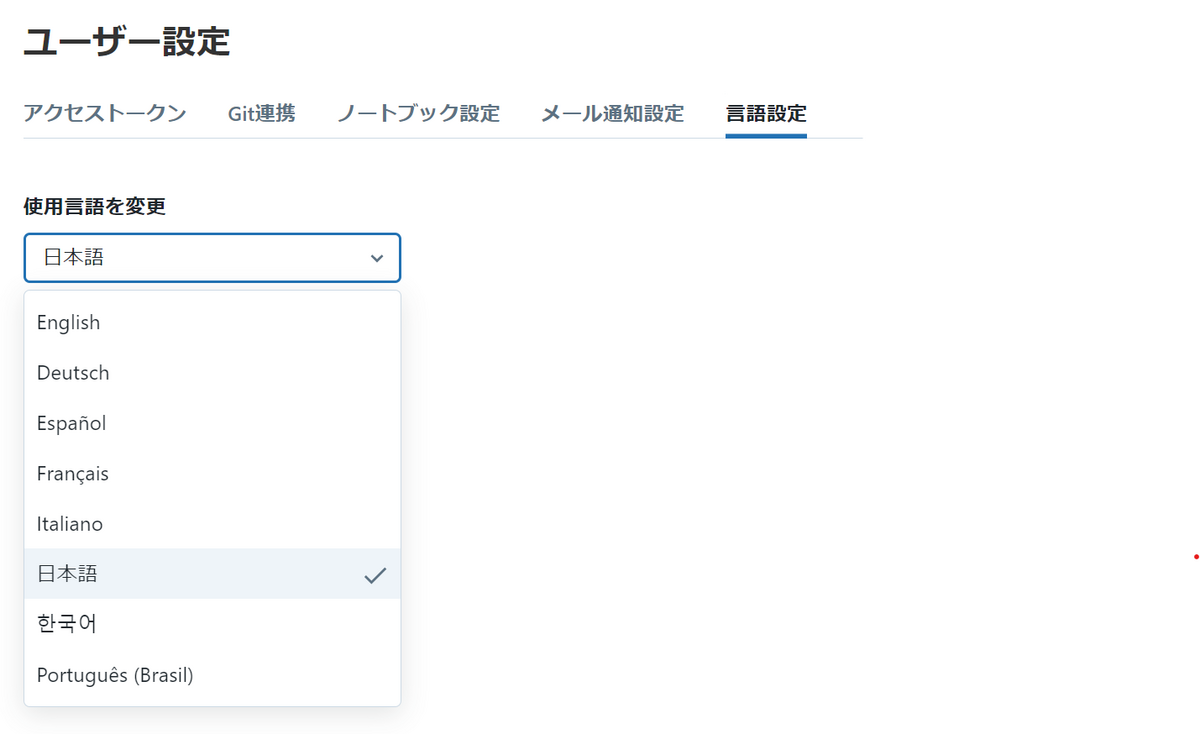
I changed the setting language to Japanese. Next, we need to create a cluster in order to run the command. Simply put, a cluster is the computational resources or configuration required to run workloads such as creating data pipelines and various types of analytics. If you want to know more about clusters, please refer to the official documentation.
Create and launch a cluster
The procedure from creating a cluster to starting it is shown below. 1. Click Compute on the left sidebar and go to the cluster page 2. Click the Create Compute button 3. Select the cluster mode There are multi-node and single-node, set it to single-node . 4. Click Create Cluster
Steps 1 and 2: Cluster creation screen

Steps 3 and 4: Configure and create a cluster
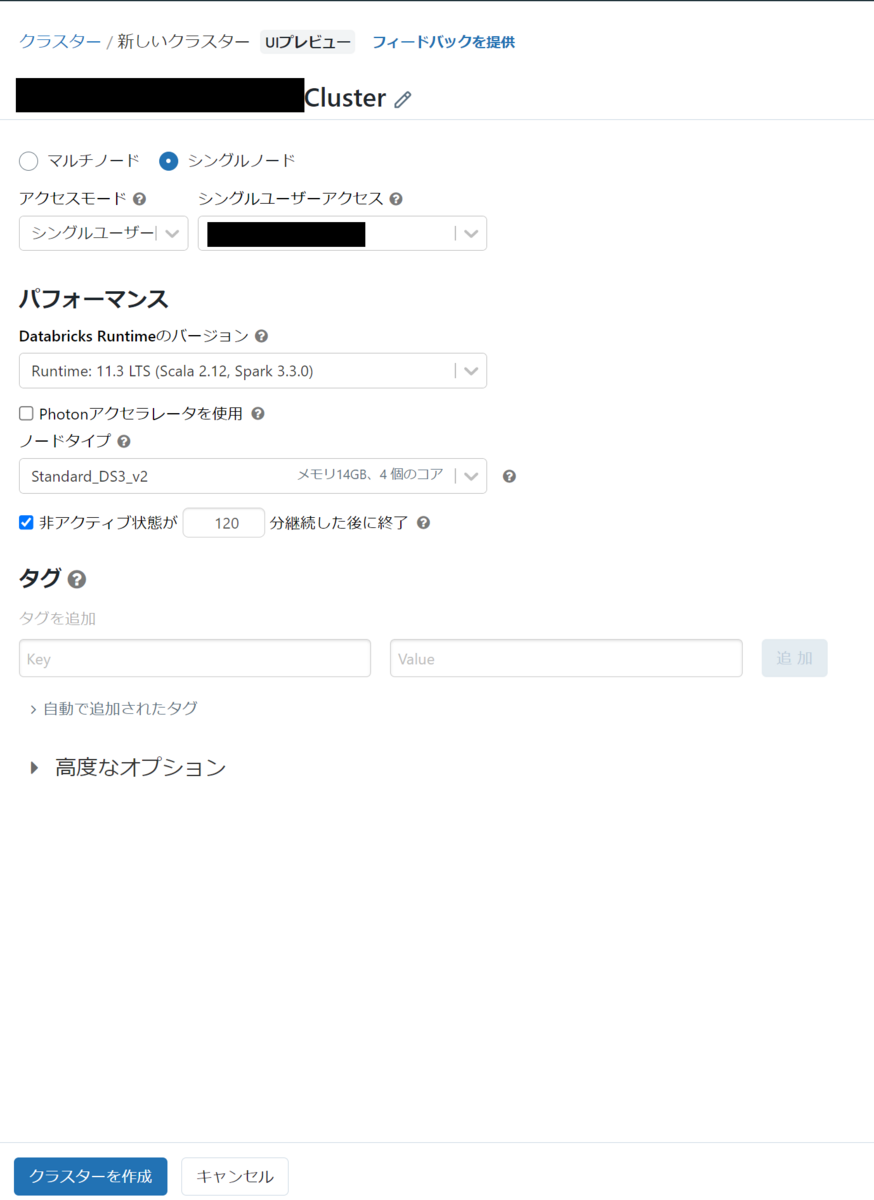
There are settings such as performance and tags on the cluster creation screen, but the default settings are sufficient for now. Return to the previous list of the clusters screen and check if the cluster was created. * It takes a few minutes to create a cluster.
 A cluster has been created.
You can confirm that the cluster has been created when the icon to the left of the cluster name is green.
* It will stop after 120 minutes of inactivity set when creating the cluster.
While the cluster is running, the rightmost item on the right side of the screen will be a stop mark (■), and while it is stopped, it will be a play mark (▶). Click to start.
To start a cluster, click the play mark (▶), or you can start a cluster on the notebook page described later.
A cluster has been created.
You can confirm that the cluster has been created when the icon to the left of the cluster name is green.
* It will stop after 120 minutes of inactivity set when creating the cluster.
While the cluster is running, the rightmost item on the right side of the screen will be a stop mark (■), and while it is stopped, it will be a play mark (▶). Click to start.
To start a cluster, click the play mark (▶), or you can start a cluster on the notebook page described later.
Run the code in a notebook
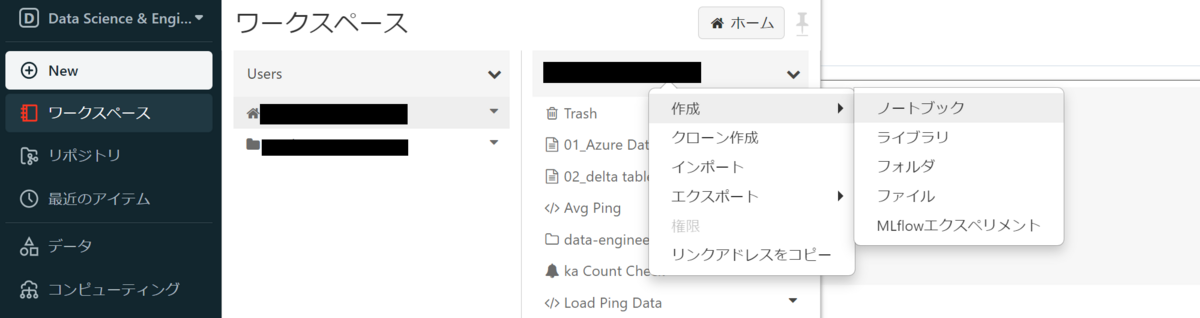
After creating the cluster, create a new notebook. Select your user name from Users in the workspace and right-click on the user name to display a list of operations. Select Notebook from Create.
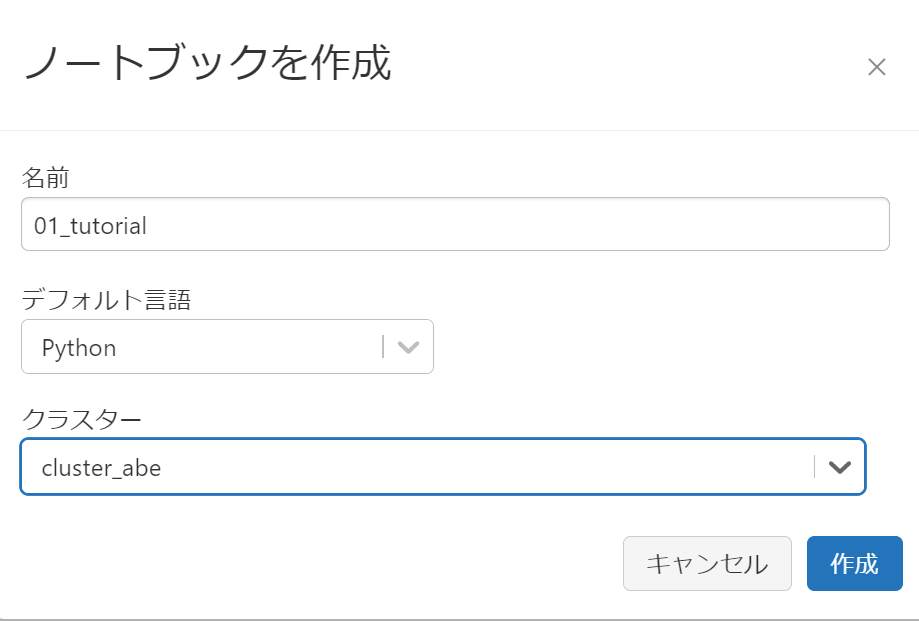
A Create Notebook pop-up will appear, enter a name for your notebook. The default language is the one you use in your notebook, and you can choose from Python, SQL, Scala, and R. For this example, select Python, select the cluster that was created earlier, and click Create.
Go to the notebook screen.

After confirming that the cluster is running, let's write the code and check it works.
Write the code in a cell and execute the cell with ctrl+enter(for mac ctrl+return).
Execute the following code.
print("Hello Databricks")
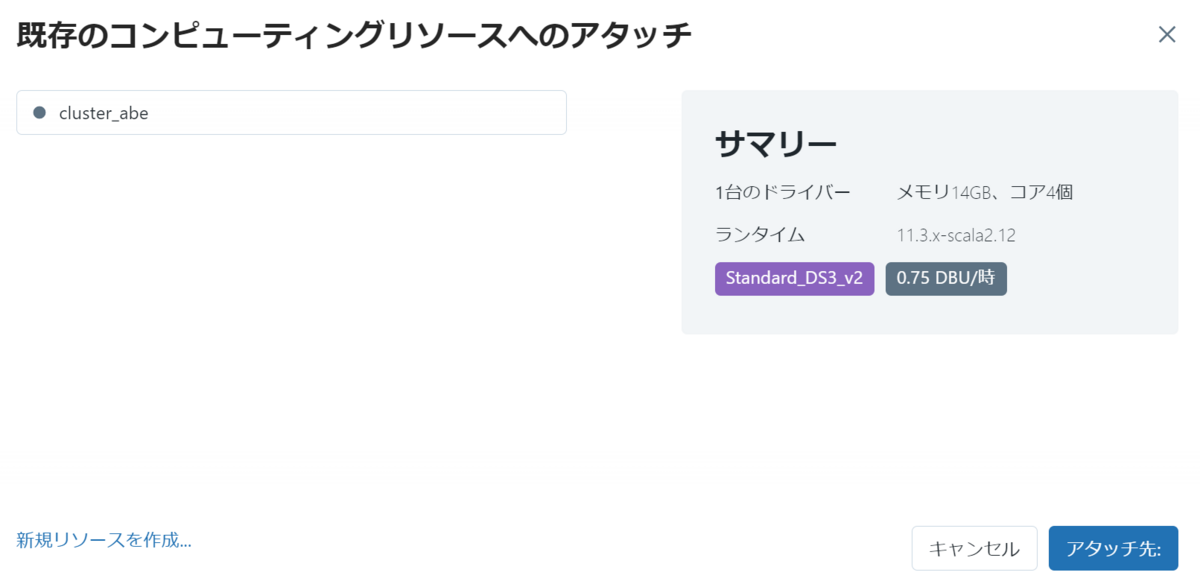
If you run without starting a cluster, you will be prompted to select a cluster to attach to your notebook. Alternatively, auto-connect to a recently used cluster.
I was able to confirm the execution result. On the screen after execution, command duration, executor, execution date, and cluster used for execution are displayed.

About the MAGIC command
From here, I will explain the MAGIC commands that are important for running notebooks. The MAGIC commands are a Databricks-specific command that allows you to use a language other than the notebook's default language, or to invoke and execute actions in another notebook. I will introduce each MAGIC command.
About language MAGIC
Language MAGIC is the command to use when running code in a language other than the notebook's default language. I set the default language to Python when I created a new notebook earlier. *The language in the notebook is displayed next to the notebook title, and you can change the default language from here.

As for the scene where the language MAGIC is used, for example, there is a case where Python is mainly used for analysis in a certain notebook, but you want to temporarily refer to table data with sql. If you use sql %sql, you can change the language in that cell to sql by stating it at the beginning of the code. As an example, execute the code up to creating and referencing a table about wine.
%sql
CREATE TABLE wine
  (alcohol FLOAT,
  color STRING,
  volume FLOAT,
  delicious BOOLEAN);
INSERT INTO
  wine VALUES
  (15.1, 'red', 150, true),
  (12.6, 'white', 180, true),
  (10.9, 'amber', 40, false);
SELECT
  *
From
  wine
Execution result
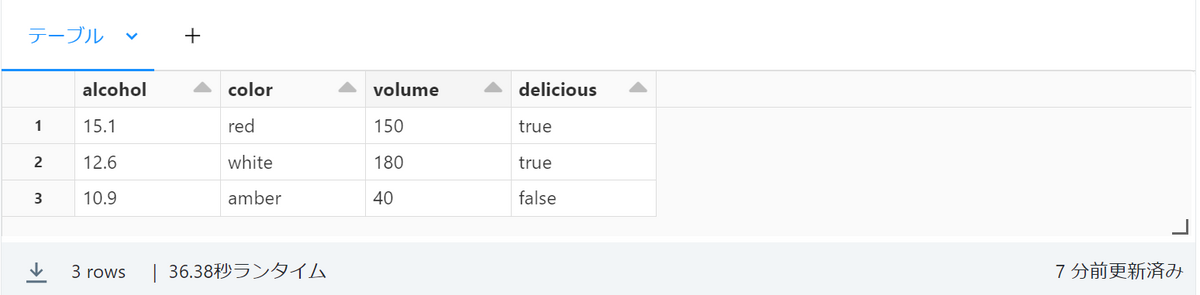
I was able to create the table. If you add the language MAGIC to the beginning like this, you can switch with the default language.
%run command
With %run you can call and run a file in another notebook from the notebook you are currently using by including it at the beginning of a cell .
For example, let's say you want to run a notebook file named test1 in the folder sample, which is one level above the current directory.
In that case, describe as follows.
%run ../sample/test1
As a usage scene, it is possible to create a view from a directory different from the current directory and refer to it.
%md command
With %md you can change to Markdown notation by writing at the beginning of the cell .
I think that there are many people who know the Markdown notation, so I will omit the explanation.
Shortcut key to hold
Finally, we will introduce an example of a shortcut key, including execution of a cell.
esc After entering the command mode by pressing it, you can add or delete cells with shortcut keys.
People who usually use notebooks will be familiar with it.
Example of shortcut key
A: add cell aboveB: add cell belowDD: delete a cellK: select the cell aboveJ: select the cell belowZ: Redo cell deletionctrl+c: copy the cellctrl+v: paste the cell
If you have any other questions, please check the help menu under the notebook title.
Conclusion
From creating a cluster to running code. From now on, I would like to carry out everything from basic operations to in-depth verification. Thank you for visiting. We provide a wide range of support, from the introduction of a data analysis platform using Databricks to support for in-house production. If you are interested, please contact us.
We are also looking for people to work with us! We look forward to hearing from anyone who is interested in APC.
Translated by Johann