- Introduction
- What this article goes over
- 1. Request a free trial of DataBricks
- 2. SIGN UP AND CHOOSE YOUR SUBSCRIPTION PLAN
- 3.Create a workspace
- 3-1. Credential configuration
- 3-2 Storage configuration
- Workspace provisioning
- Conclusion
Introduction
I joined the company in January 2023. My name is Abe from the Lakehouse Department of the GLB Division. I would like to post about operation verification with Databricks (including my study). Databricks provides the "Databricks Lakehouse Platform", a cloud-based integrated data analysis platform that integrates data lakes and data warehouses, and provides a one-stop service from data collection to analysis and development and can perform operation of machine learning models.
In this article, we will explain the procedure to create a Databricks workspace on AWS using the Databricks free trial.
What this article goes over
Sign up for a Databricks 14-day free trial and create a Databricks account.
Next, configure various settings to create a Databricks workspace. And in Table of Contents 3.1 and 3.2 shown below, operations such as creating an IAM role and creating an S3 bucket appear on the AWS side.
Therefore, if you have not created an AWS account, create an AWS account from the page below and create a workspace.
You can also create a free tier account on AWS, so I think you can easily get started.
1. Request a free trial of DataBricks
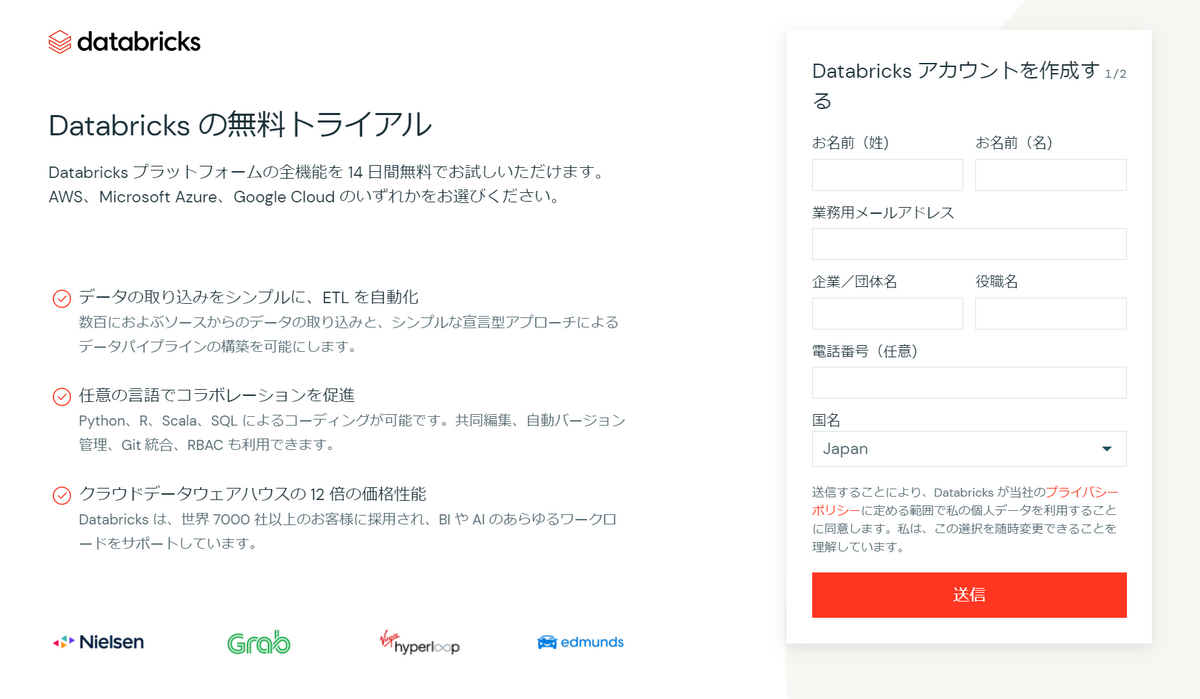
Click Databricks Free Trial. (https://www.databricks.com/jp/try-databricks#account)
Click Send after entering the input items such as name, email address, company/organization name, etc.
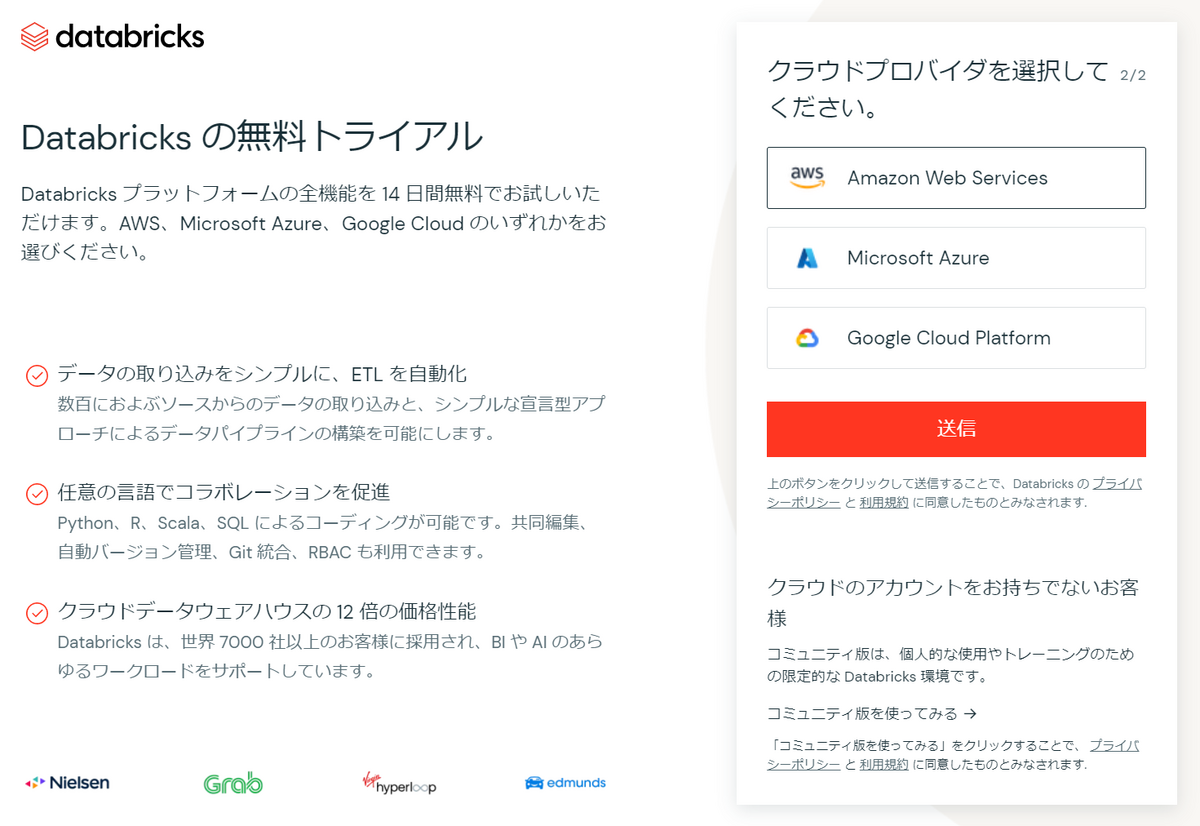
3. Select a cloud provider.
This time, we will create a workspace on AWS, so select Amazon Web Services and click Submit.
4. The following welcome email will be sent to the registered email address.
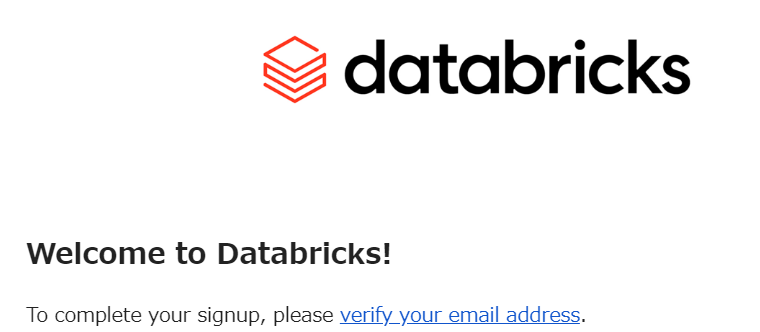
Note: If you did not receive the email, please check your spam folder.
2. SIGN UP AND CHOOSE YOUR SUBSCRIPTION PLAN
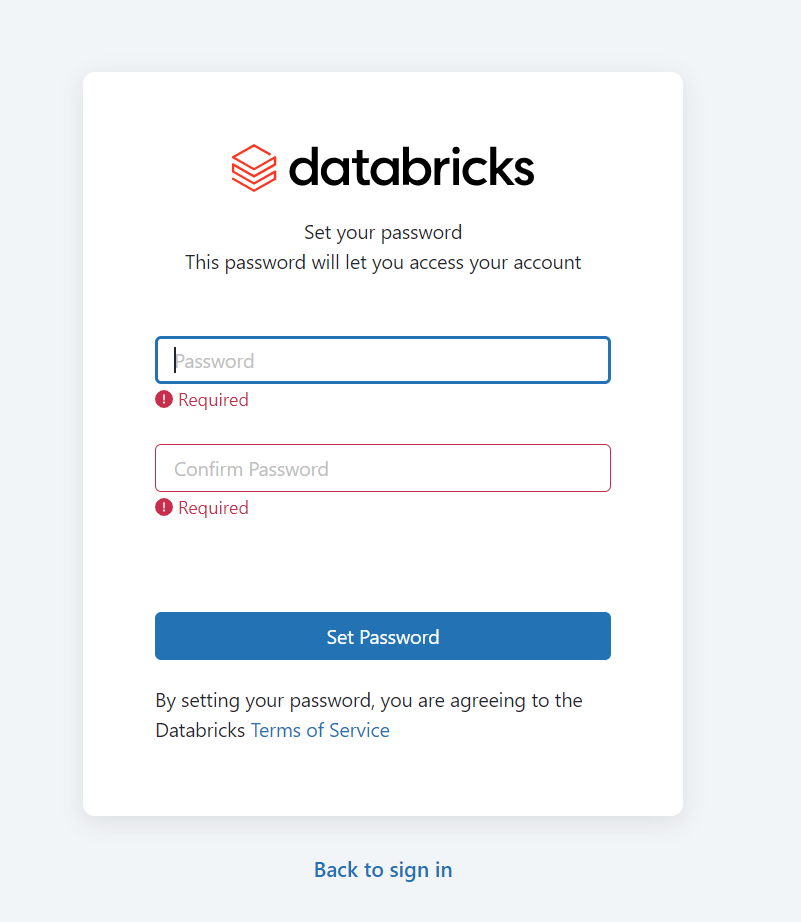
The link in the email will take you to the password setting page. After entering the password, click Set password.
Next, transition to the subscription plan selection screen. This time it's a 14-day free trial, any plan is fine, but I chose Premium.
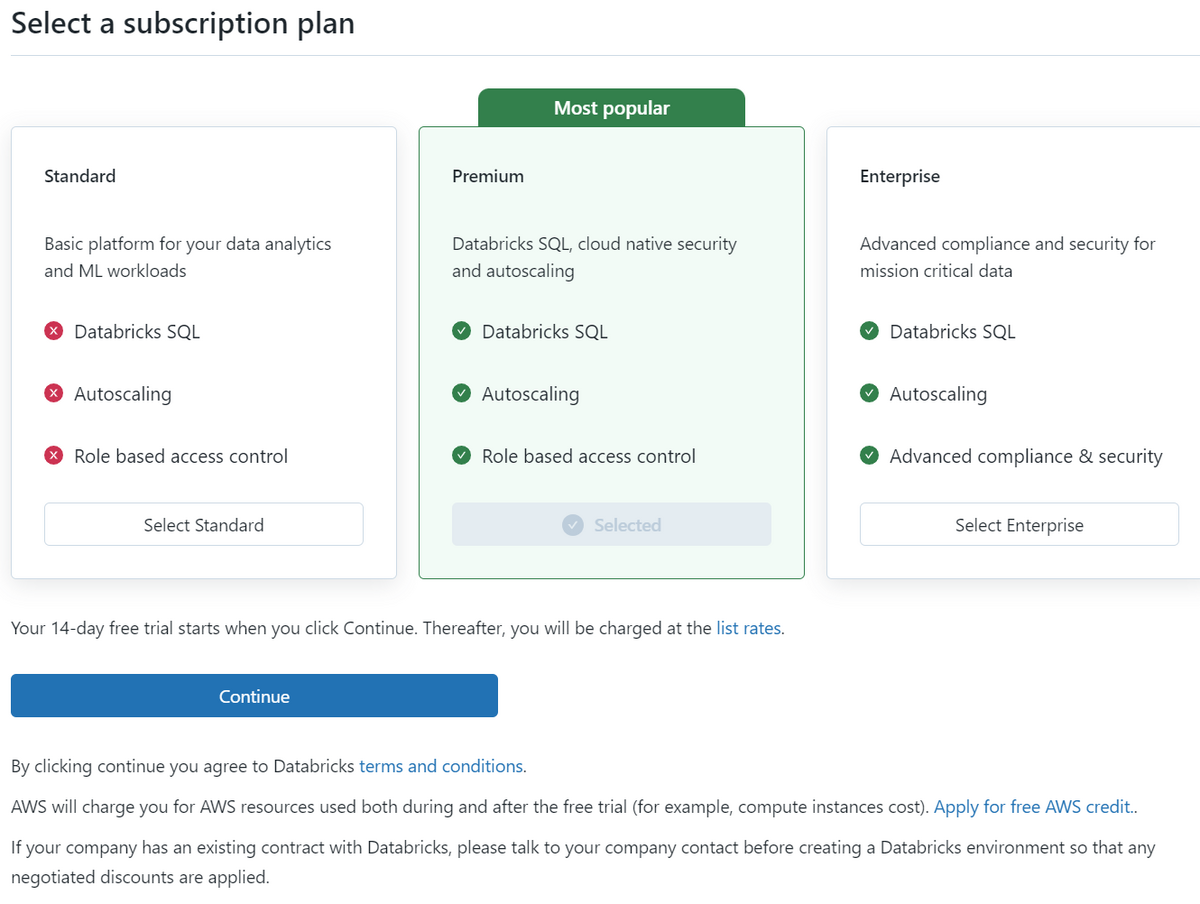
For details on charges, please refer to Databricks on AWS Usage Charges.
3.Create a workspace
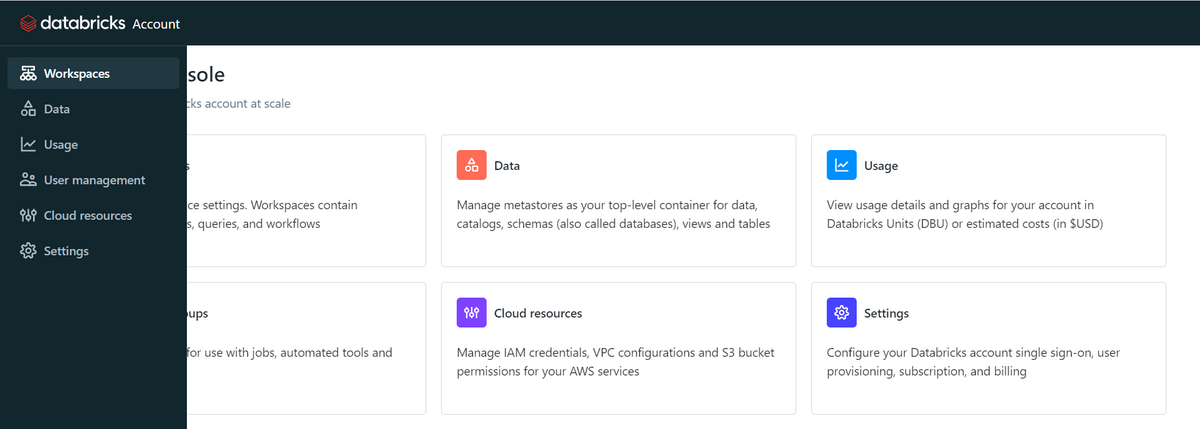
After transitioning to the Account Console screen, click Workspaces in the sidebar.
Click Create workspace, and select Custom AWS configuration.

The setting screen for creating a workspace is displayed.
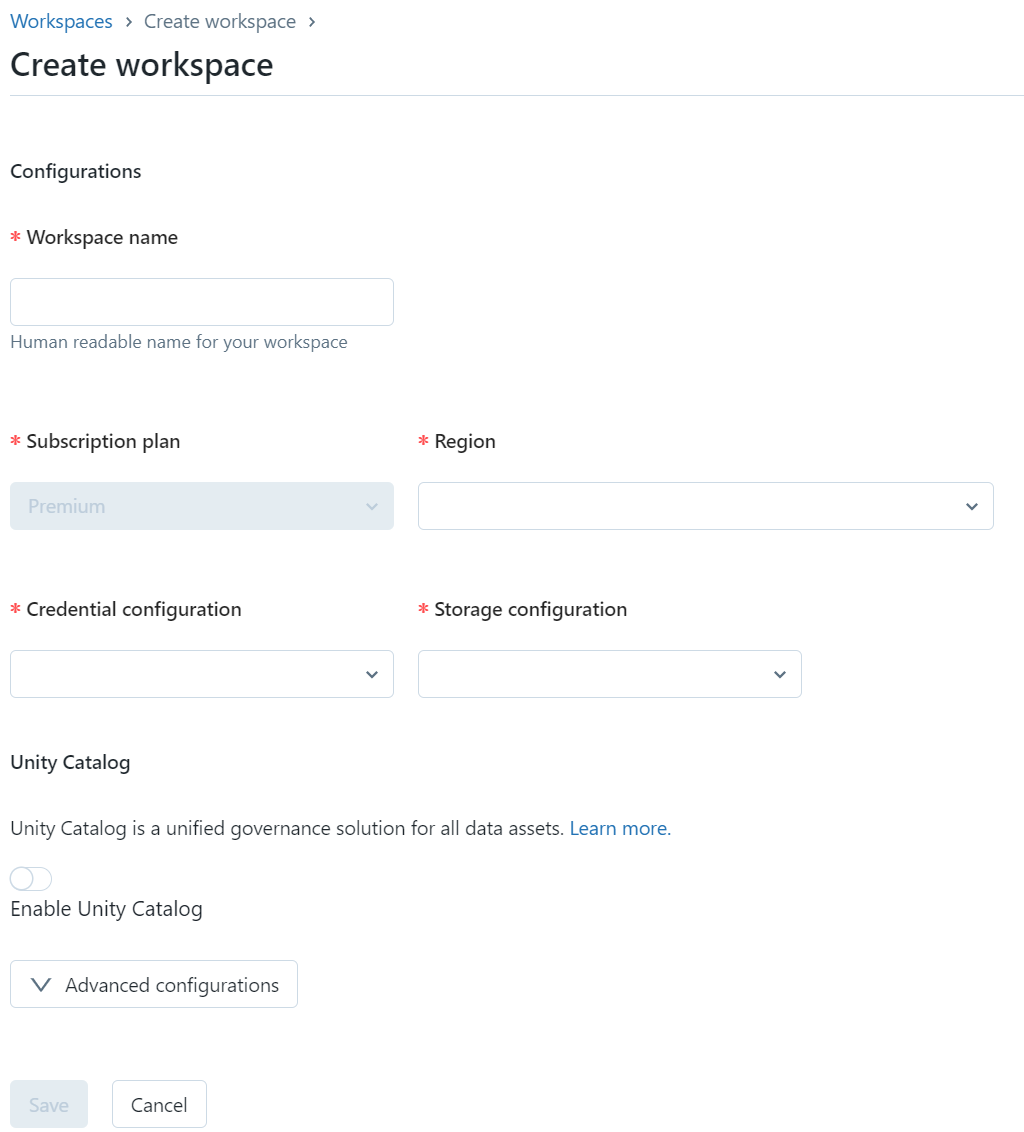
From now on, set the following items.
-Workspace name: Enter the name of your own workspace. -Subscription plan: Your subscription plan is already selected. -Region: Select your AWS region. -Credential configuration: Configure authentication settings, including operations on the AWS side such as setting IAM roles. -Storage configuration: Configure storage settings including operations on the AWS side such as S3 bucket settings.
Since Credential configuration and Storage configuration require operations on the AWS side and have many setting items, they will be explained separately.
3-1. Credential configuration
After setting the workspace name and region, create an IAM role required for launching a cluster using your AWS account later, and enter the IAM role information.
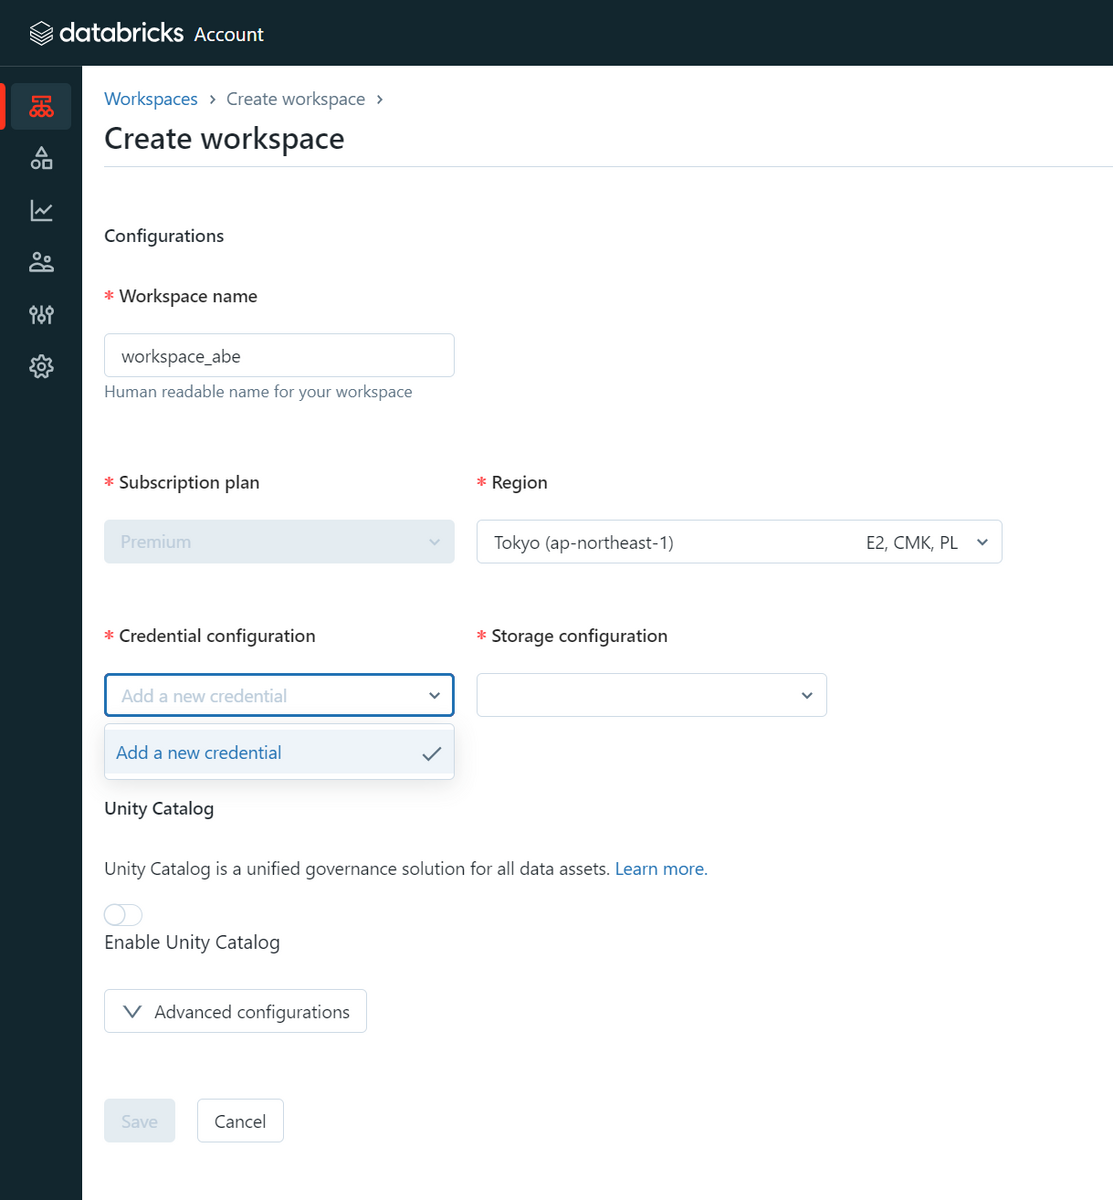
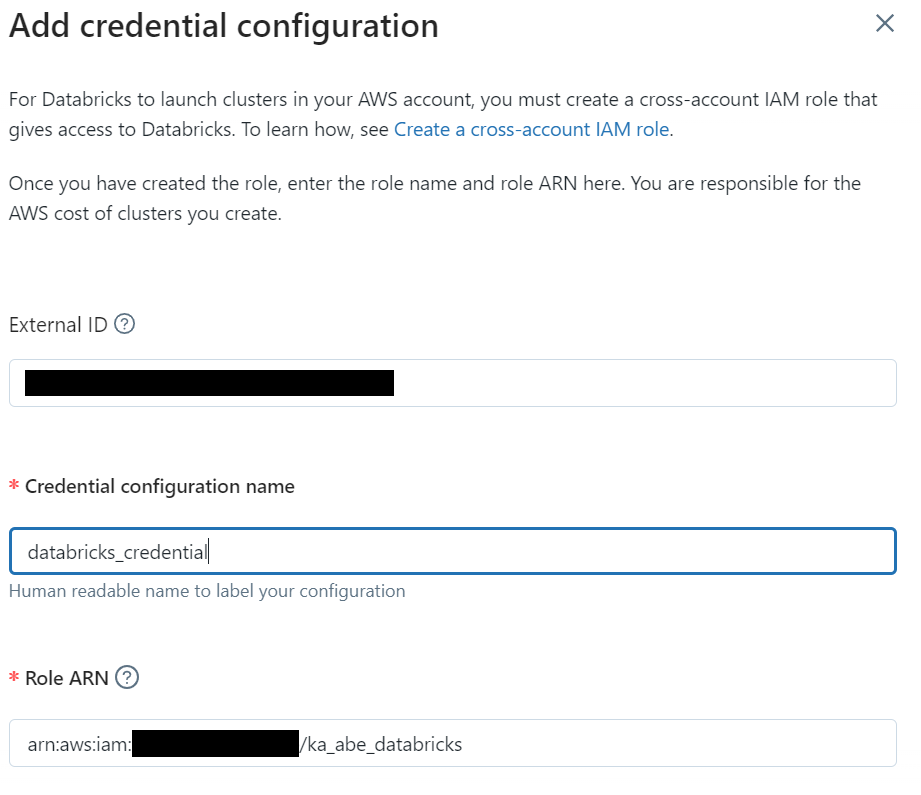
Select Add a new credential from the Credential configuration pulldown and a popup will appear. Copy the displayed External ID as it will be used to create an IAM role.
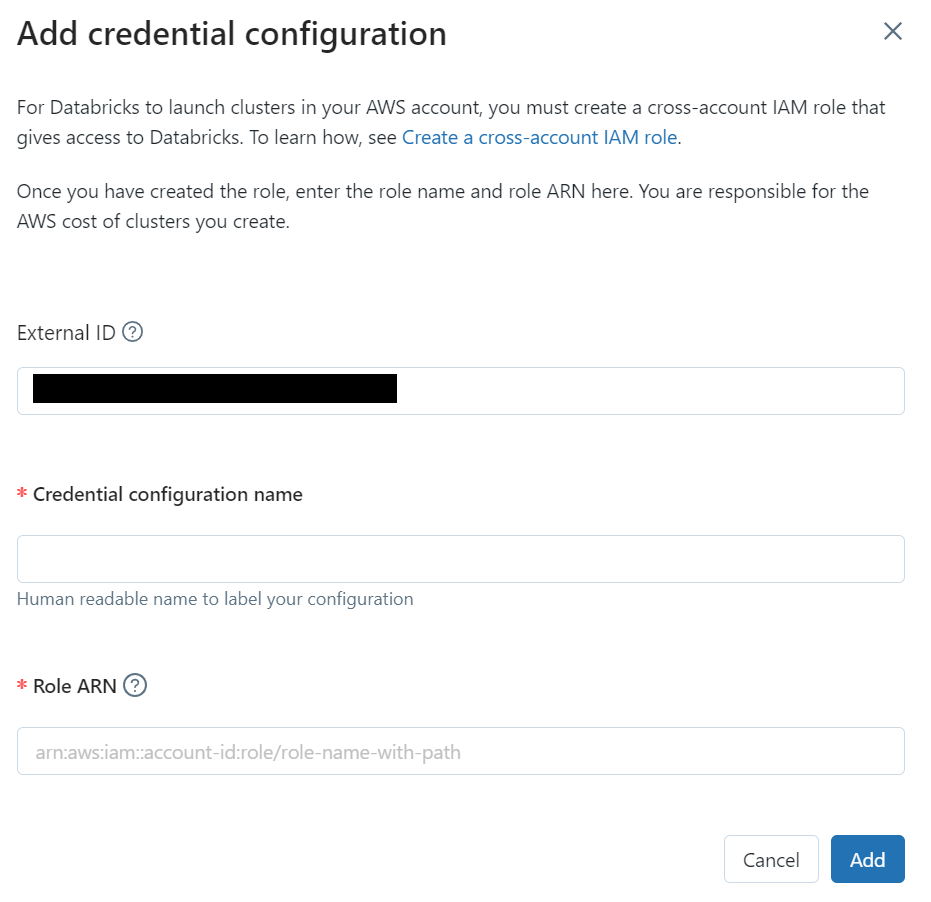
Decide and enter a Credential configuration name. In Role ARN, enter the information of the IAM role that will be created on the AWS side.
Create an IAM Role
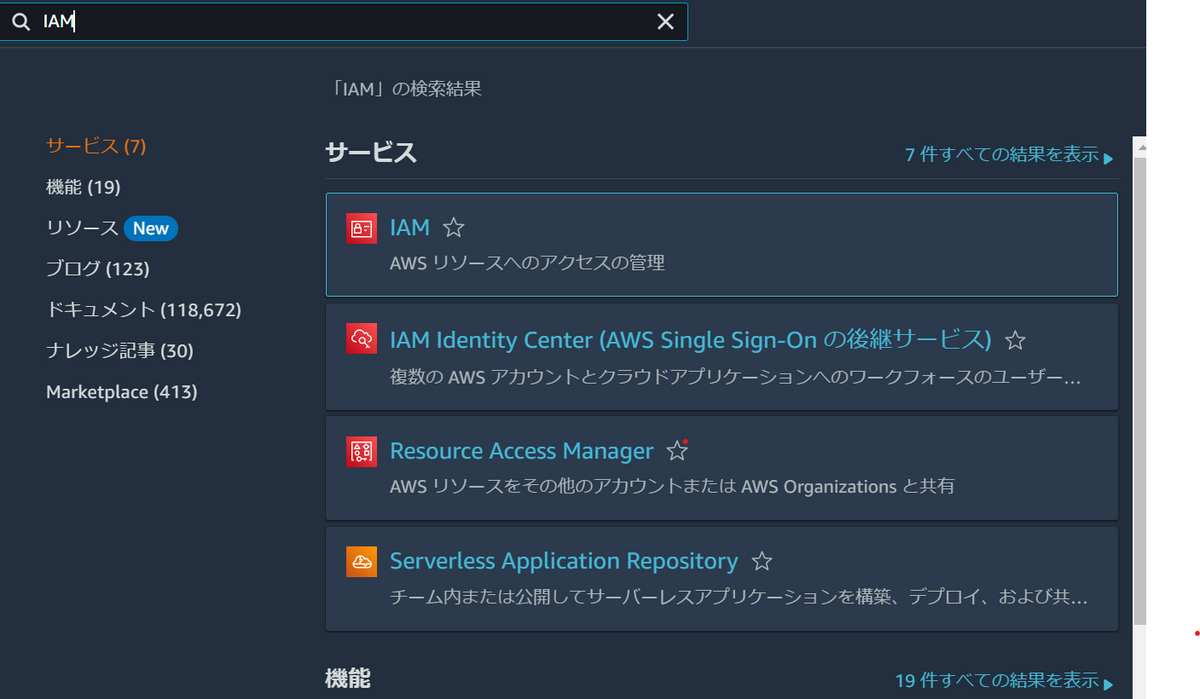
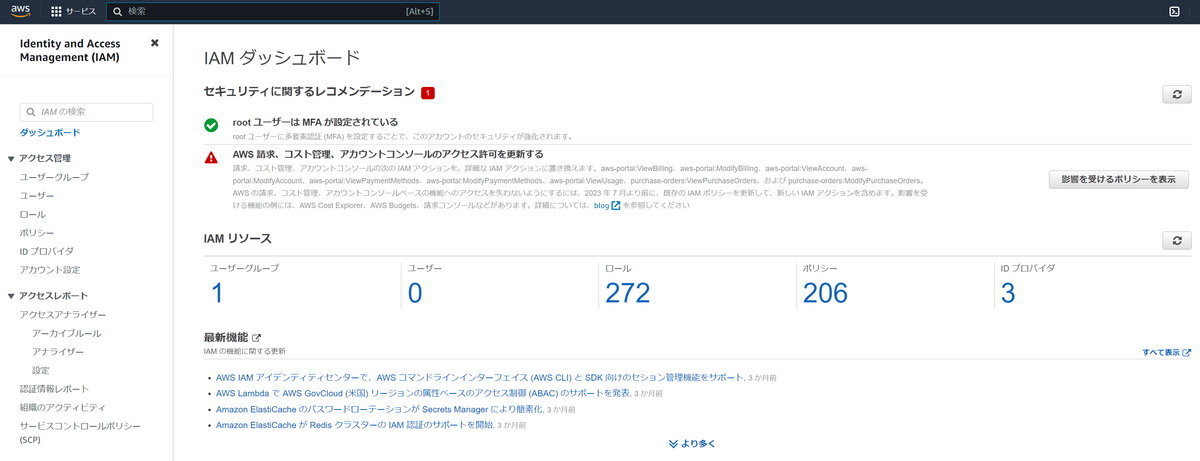
Create an IAM role on the AWS side. Enter IAM in the search box on the upper left of the screen, and click IAM on the displayed service.
Click Roles from the sidebar.
Click Create Role on the top right of the screen.

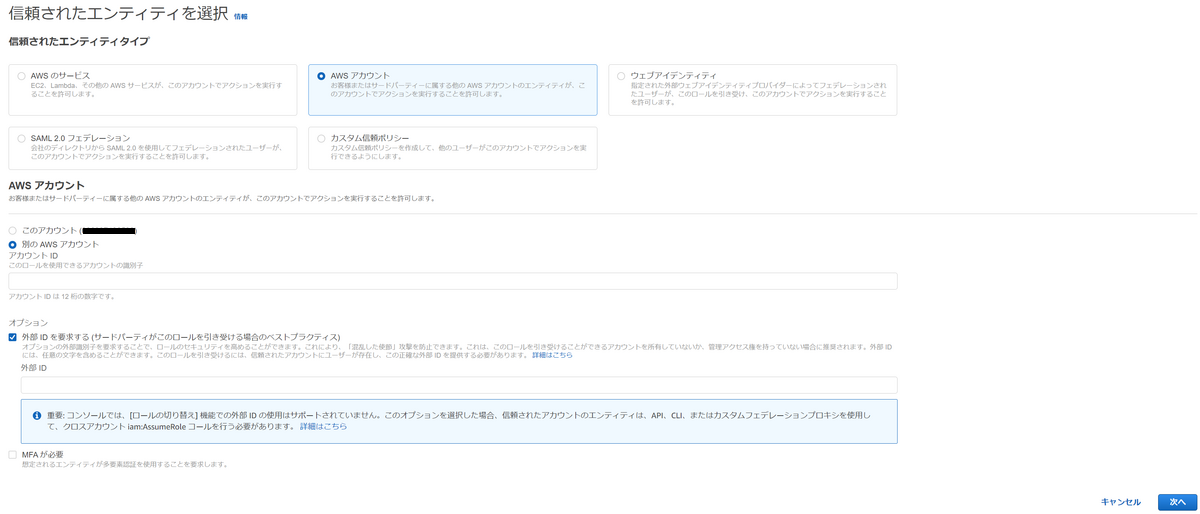
The Select Trusted Entity Type screen will appear.
For Trusted Entity Type select AWS Account and for AWS Account select Another AWS Account. In the Account ID field that appears, enter 414351767826, which is the Databricks unique ID.
Next, check the option Require External ID and the External ID field will appear, paste the External ID you copied in the authentication settings.
Click Next.
Enter the role name and description and click Next.

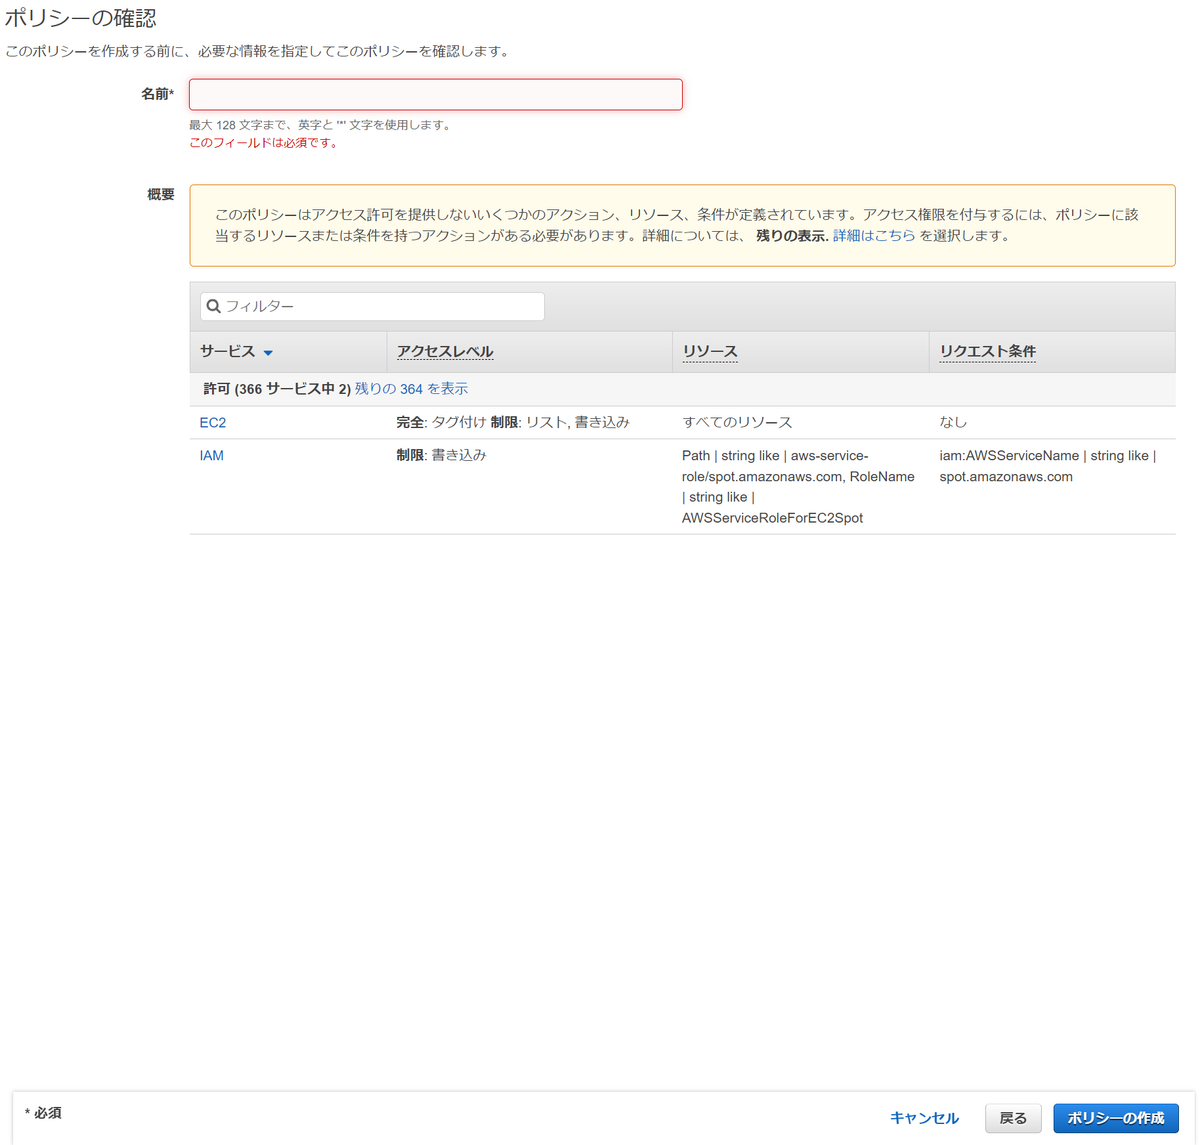
The policy creation screen will be displayed. Click Create Policy, and then click the Policy JSON tab.

Select and paste the policy under Create a cross-account IAM role.

Enter a name for the policy and click Create Policy.
After creating the IAM role, copy the role ARN.
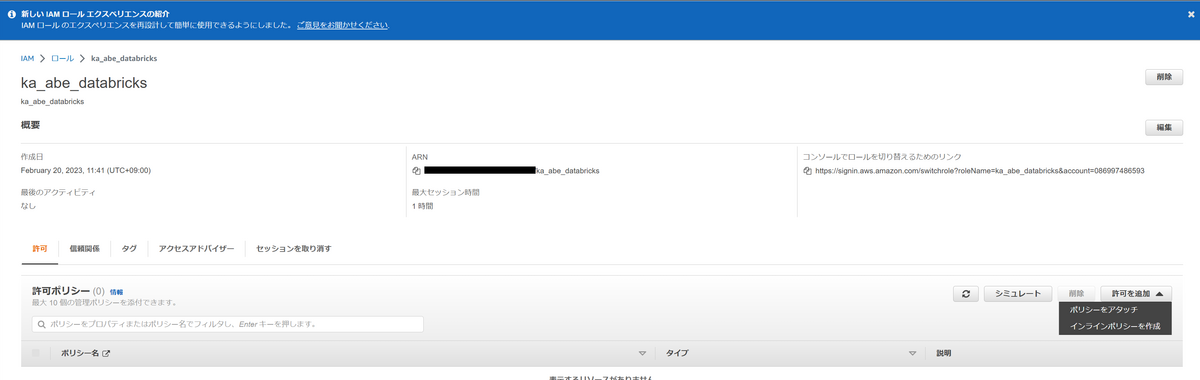
You have created an IAM role and set an IAM policy. Return to the Add credential configuration dialog and paste the role ARN into the Role ARN field.
Authentication settings are now complete!
3-2 Storage configuration
Select Add a new storage configuration from the storage configuration field of the dialog.

Fill in the storage configuration name and S3 bucket name. S3 bucket names must be unique, so be careful not to overlap with other bucket names.
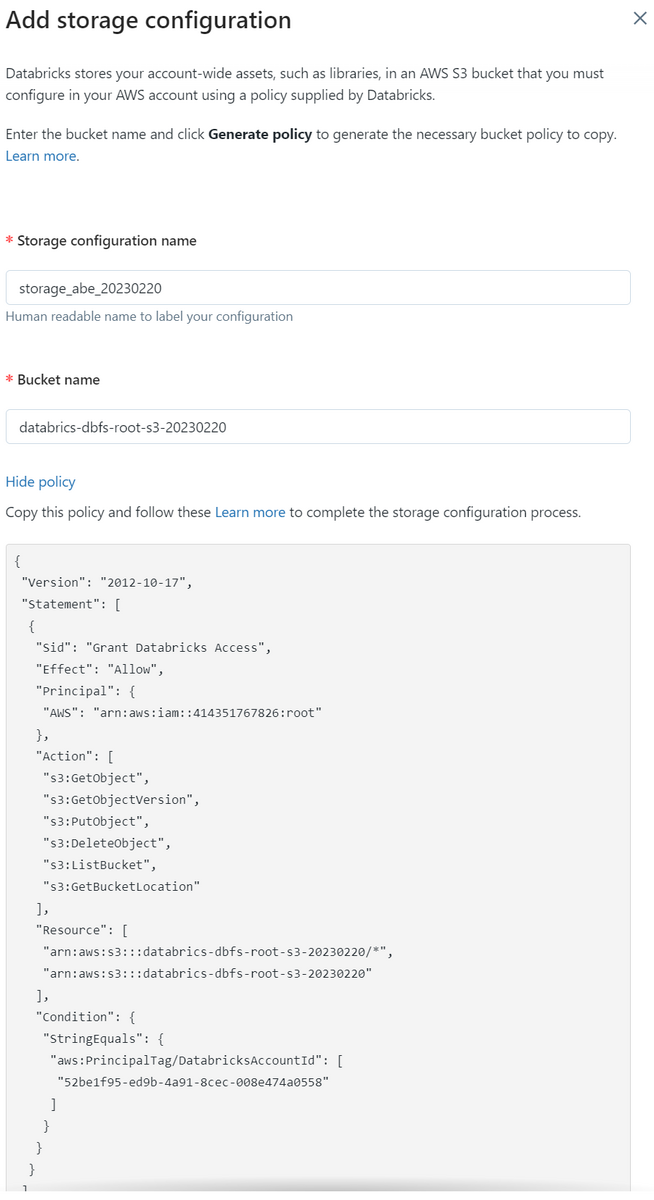
After entering the bucket name, click Generate policy under Bucket name to display the bucket policy. (The image shows the bucket policy already, you can hide it by clicking Hide policy.)
Copy it and click Add, as it will be used to set bucket permissions in AWS.
Create S3 bucket
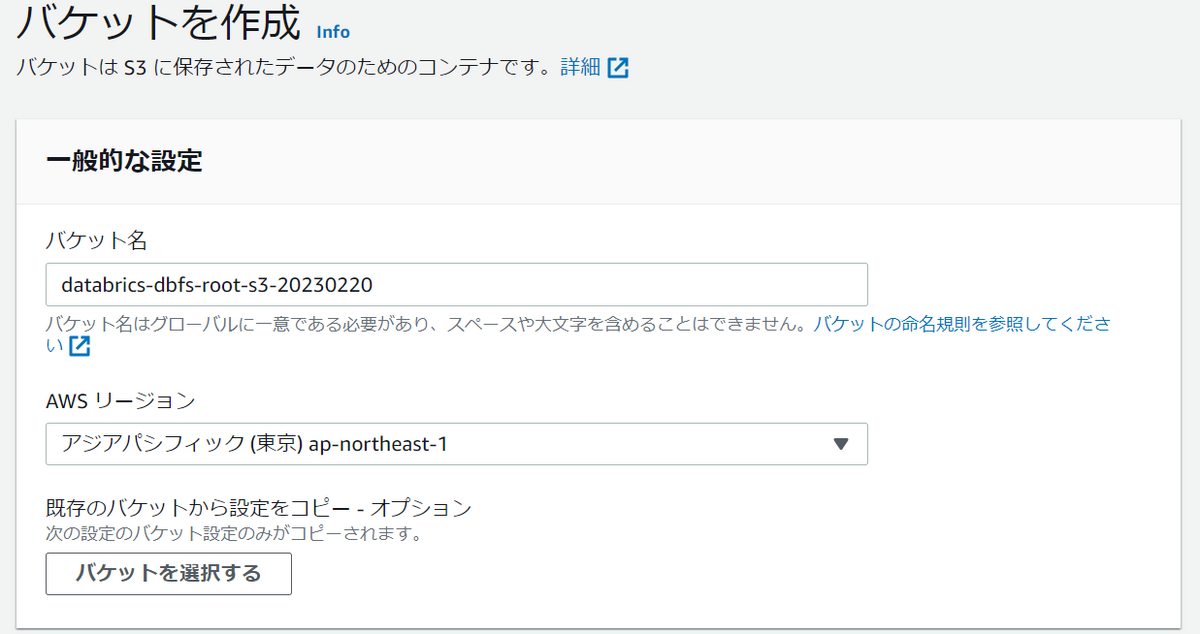
Create an S3 bucket for the DBFS (Databricks File System) root that applies the created storage configuration. Since it is necessary to operate from the AWS side, just like IAM, after entering S3 in the search field of the AWS screen, click the displayed S3 to transition to the bucket screen.

Click Create Bucket.
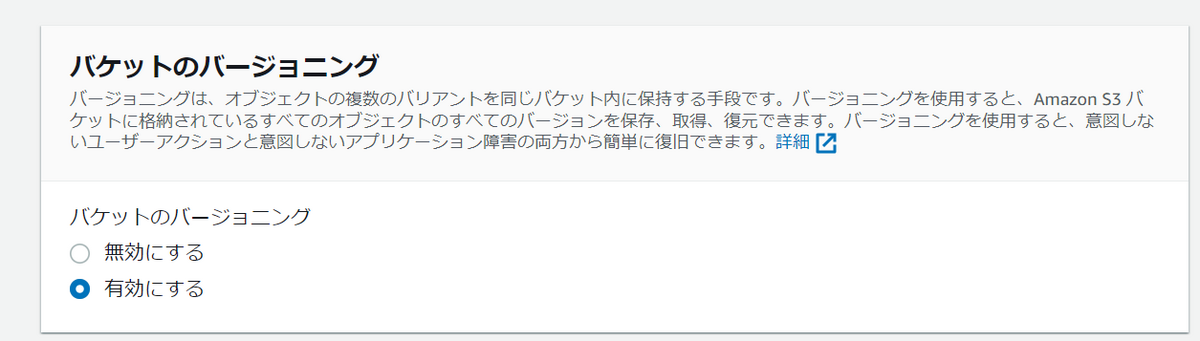
Databricks recommends enabling bucket versioning. Versioning is useful when you accidentally delete a file, because you can restore the previous version after changing or deleting the file.
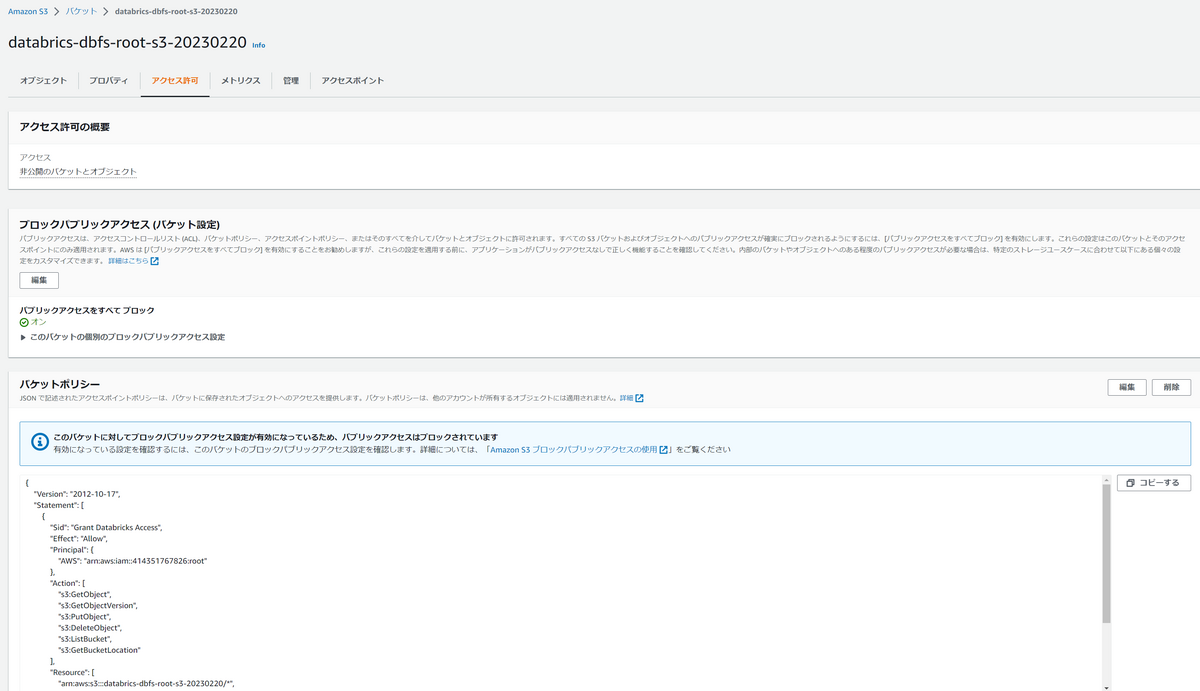
Scroll down and click Create Bucket. After selecting the created bucket from the bucket list, click Edit Bucket Policy from the Permissions tab and paste the bucket policy you just copied.
Storage setup is now complete!
Workspace provisioning
Finally, click Save from the dialog screen.
 Workspace provisioning begins. (Status is displayed as Provisioning)
 Provisioning took about 5 minutes.
Provisioning completed. (Status is displayed as Running)

Clicking the name of the workspace displays the information and URL of the workspace that has been set so far.
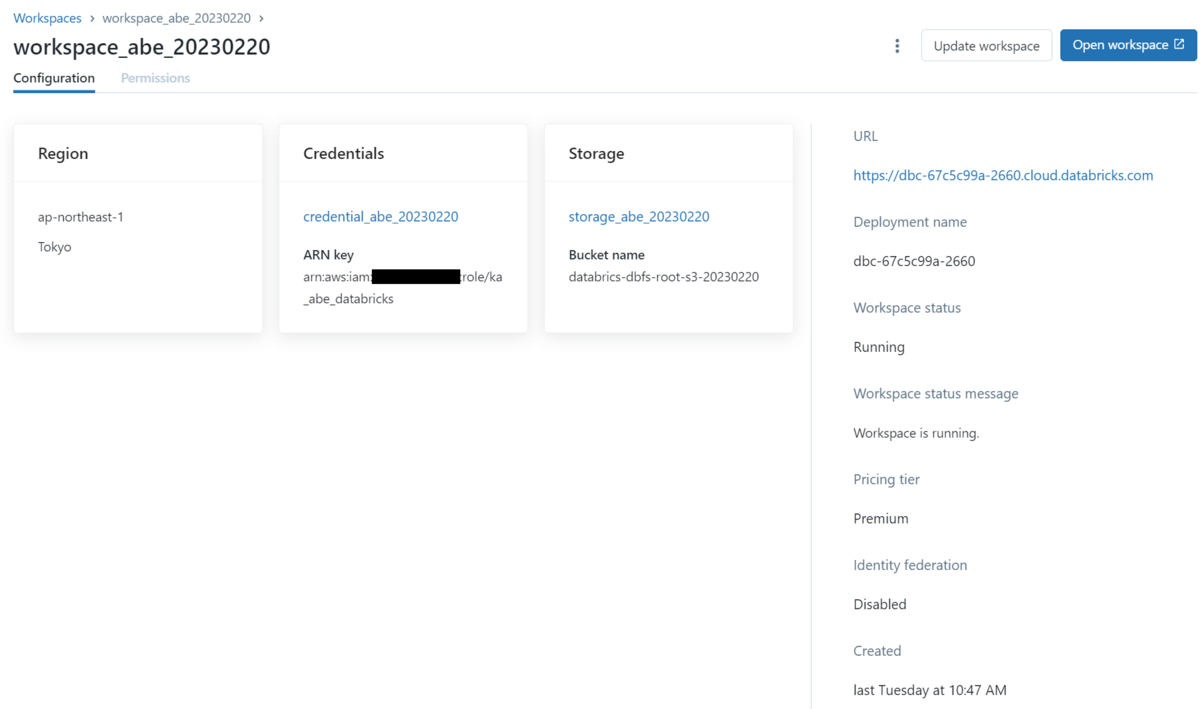
Click Open workspace to transition to the workspace screen.
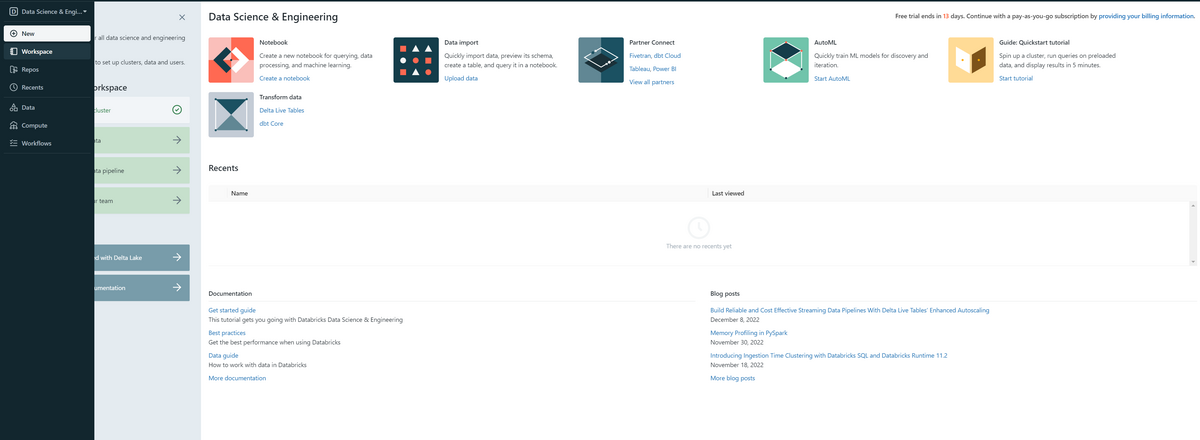
This completes the creation of the workspace. If you use this workspace for verification, etc., we recommend bookmarking it. * Databricks sign-in is required to re-enter the workspace.
Conclusion
Thank you for reading the article to the end. It took me a lot of time to set up on the AWS side, such as creating an IAM role. I created a Databrick workspace on AWS this time, but you can also create a workspace on Microsoft Azure or Google Cloud Platform. We will continue to post Databrick-related articles, so stay tuned!
We provide a wide range of support, from the introduction of a data analysis platform using Databricks to support for in-house production. If you are interested, please contact us.
We are also looking for people to work with us! We look forward to hearing from anyone who is interested in APC.
Translated by Johann